Have you ever wanted to do a seasonal craft last minute, and without a run to a craft store? Wax crayon leaves are perfect!
If your like me you have crayons that have started to crumble, or that don’t draw very well anymore, or crayons that your child was given at every restaurant you have ever visited! If so you are halfway to making this craft! You only need wax paper from your pantry and a very hot iron!
Are you ready to make Wax crayon Leaves? Here is how:
STEP 1: Roughly sketch out your shapes. I was using just a couple crayons and wanted to make sure that my leaves would fit on the wax paper I had handy. This step is not necessary unless you are just pr-planning how many shapes will fit on your paper.
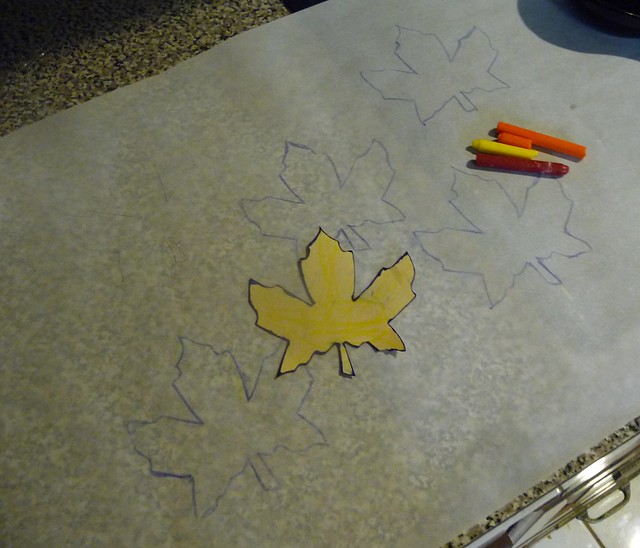
STEP 2: Use a knife or grater to crumble a couple different color crayon shavings onto your wax paper, keeping in mind you need less than you think as they will spread.

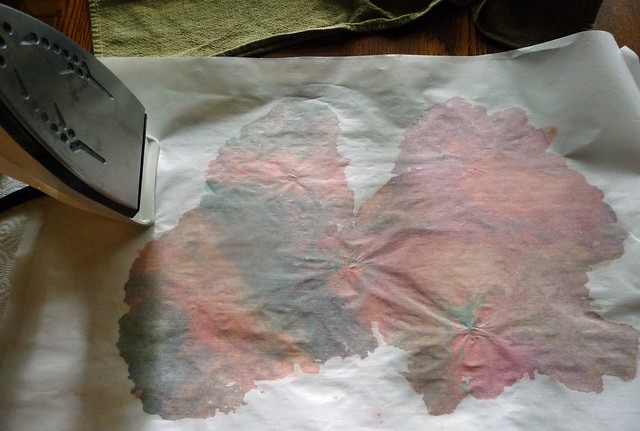
STEP3: Use a second sheet of wax paper and place both on a towel protected surface. Let your iron start to melt your crayon, and then spread color where you want.
STEP 4: If you didn’t do step 1, this is a good time to trace some shapes on your wax paper.
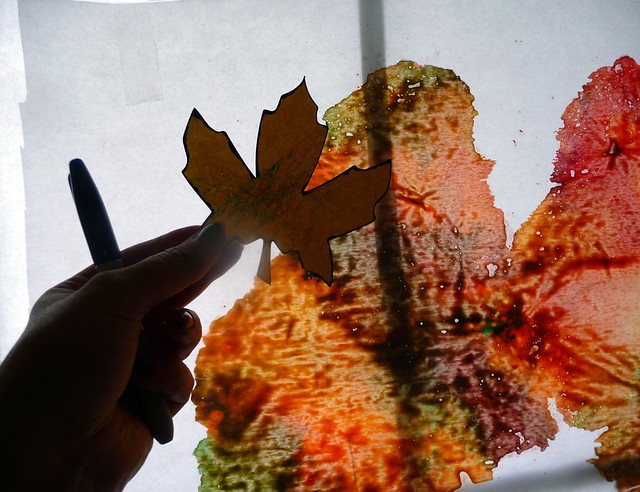
STEP 5: Cut out your shapes and hang where light comes into a window! If cutting your shapes makes your wax shapes crumbly, just add a dot of glue to hold the shapes together.

Wouldn’t these leaves be beautiful on the windows of a dinning room where you are going to eat Thanksgiving dinner? What about making wax snow men or snowflakes using blue hue colors for winter?
The post Melted Wax Crayon Leaves DIY appeared first on Everyday Best.


